Gmail to PDF Migrator - Product Guide
Check-out the complete working procedure below, after this you can easily use the software.
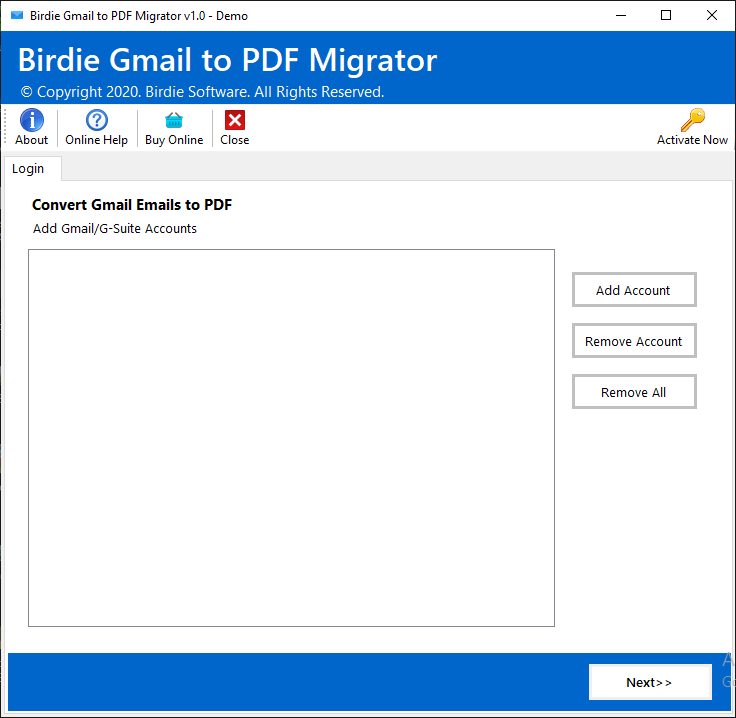
Download, Install & Start the Gmail to PDF Migrator on any Windows machine
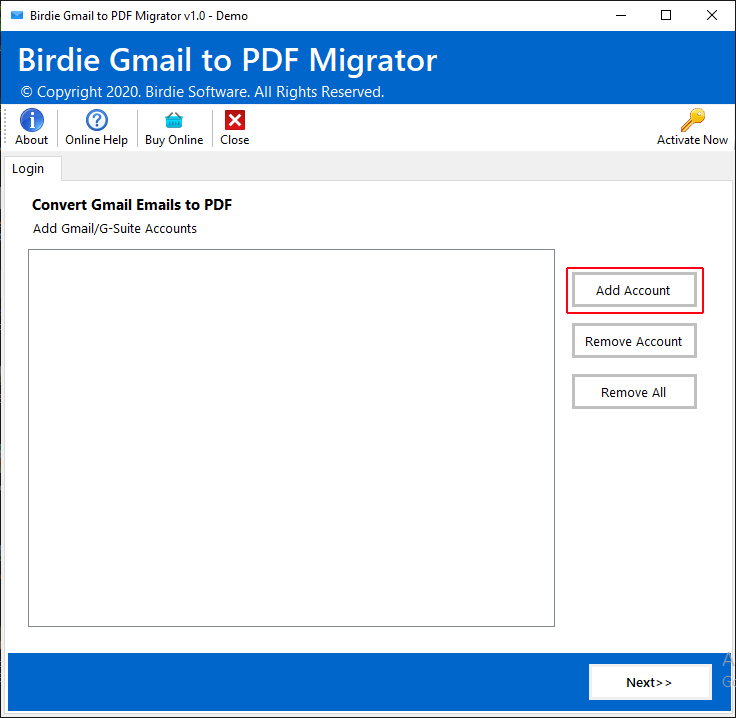
Now, click on "Add Account" button for adding Gmail account as mentioned in the screenshot:
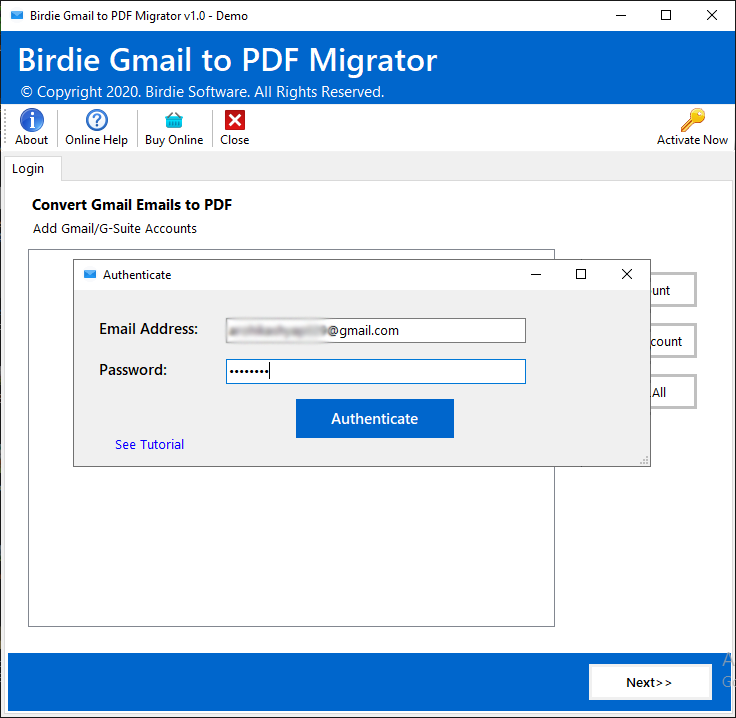
In the new dialogue box, enter correct login ID and Password of Gmail email account and hit on the Authenticate button.
Now, your Gmail account is authenticated successfully by showing a message i.e. Account Authenticated Successfully.
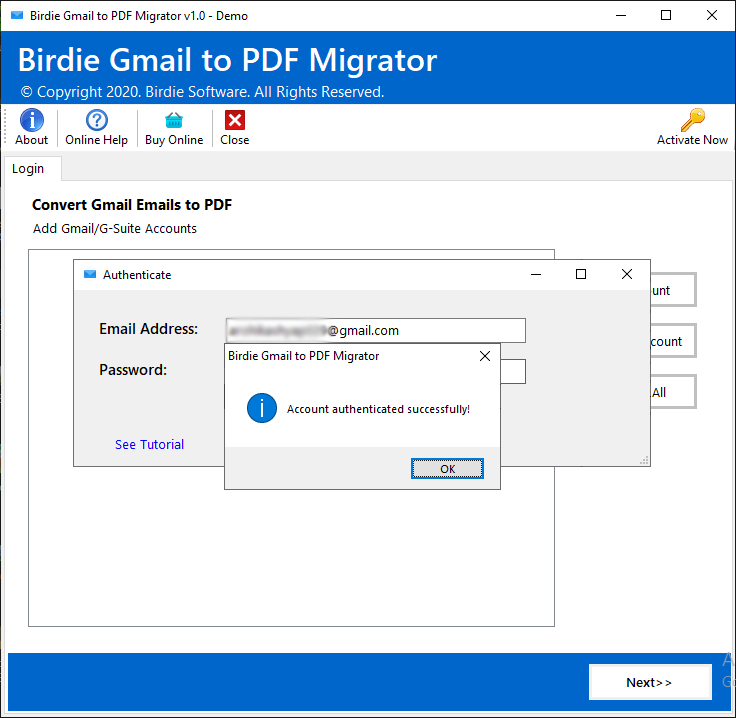
If you need to add multiple Gmail account for migration into PDF, so you can follow the same buttons. And, after the multiple account, you can click on the Next button.

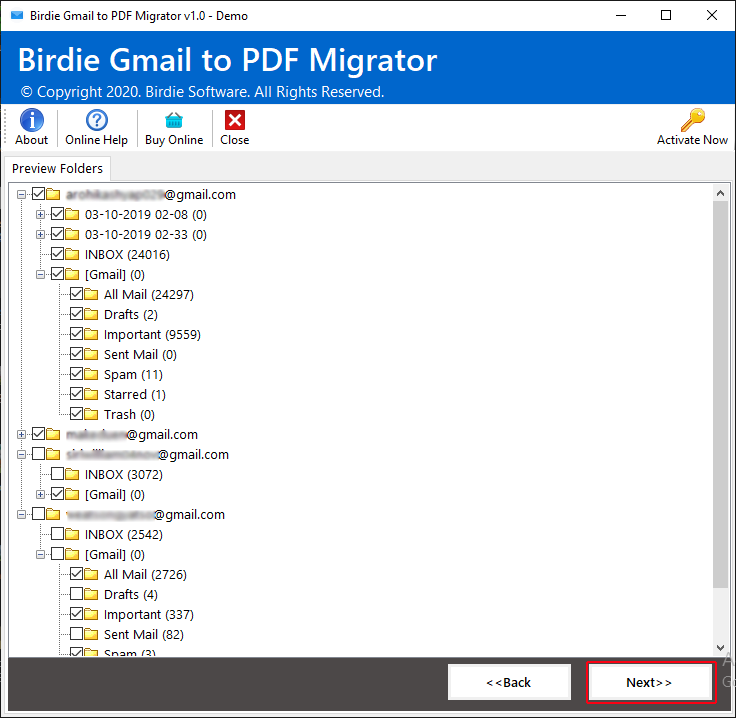
A new screen open that incudes the complete Gmail account data in a folder structure. You can choose the folders and go to click on the Next button.
After clicking on next button, the software will open a next screen of saving options which is given below:
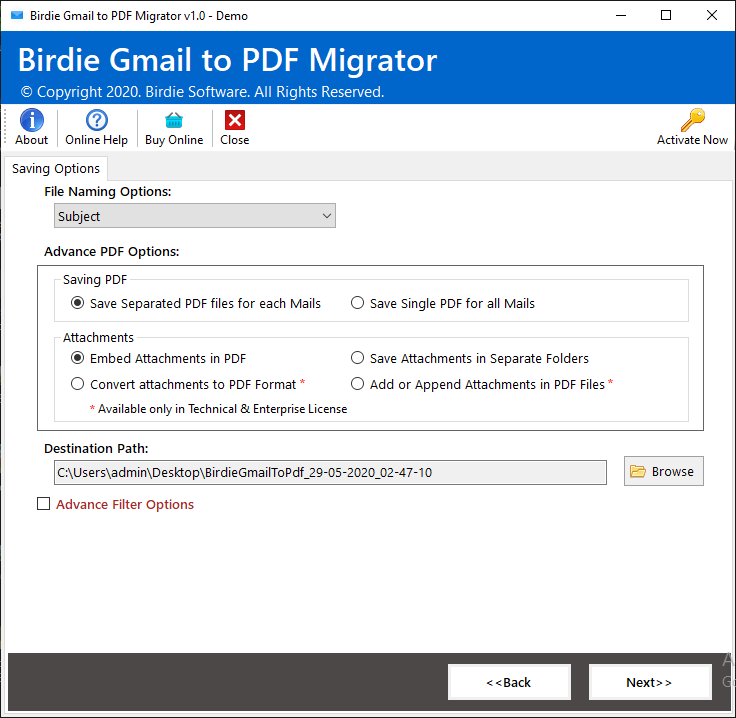
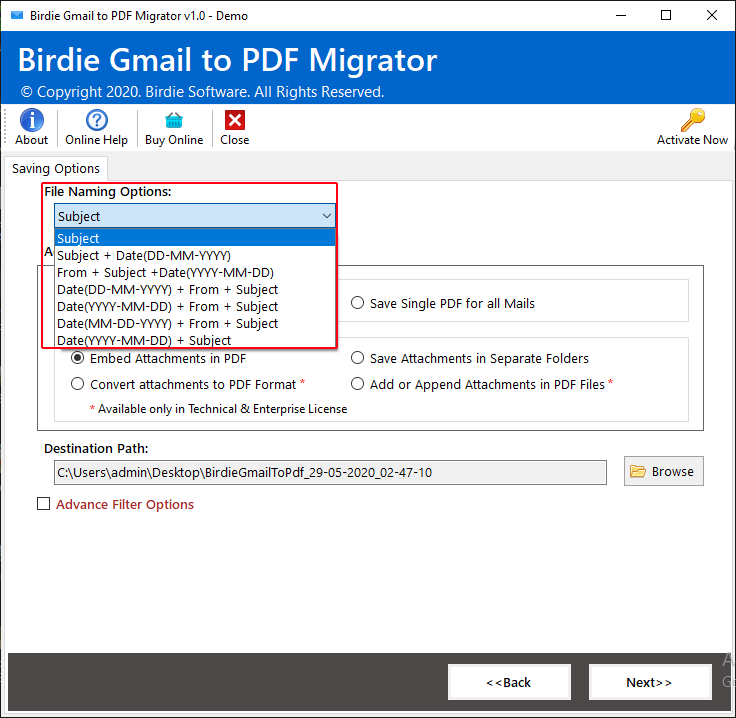
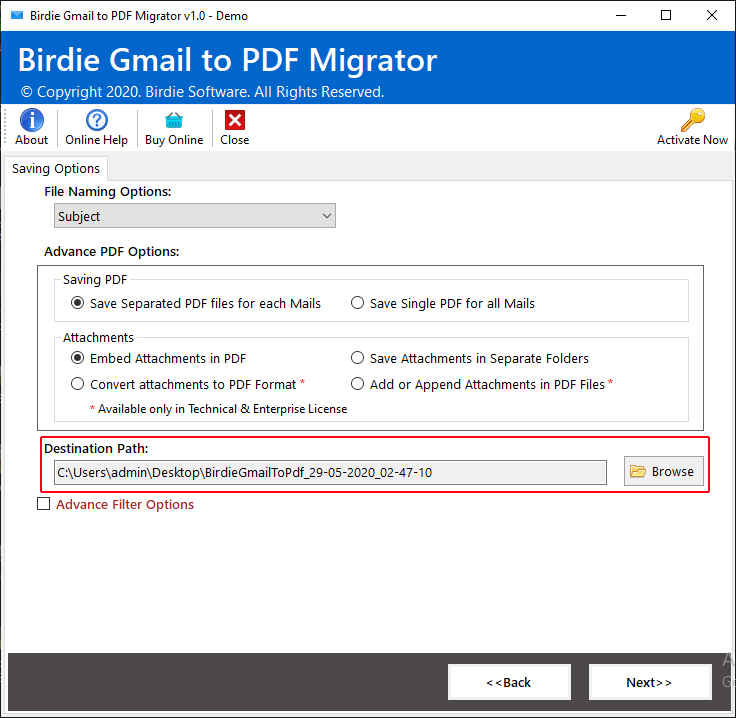
In this new screen, first you can take the benefit of different file naming options. Choose any one from the multiple options as mentioned in the screenshot:
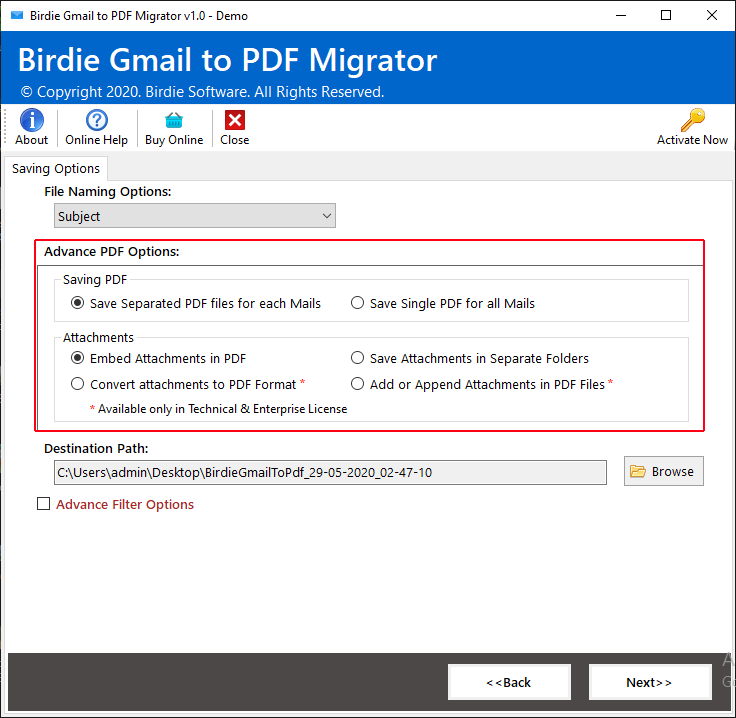
Now, the software facilitates Advance PDF Options that includes the sub-options for saving PDF & Attachments. You can choose the options as per the requirement.
After selecting an appropriate options, you need to add the destination path where you want to save your output PDF files. So, click on Browse button and add the location.
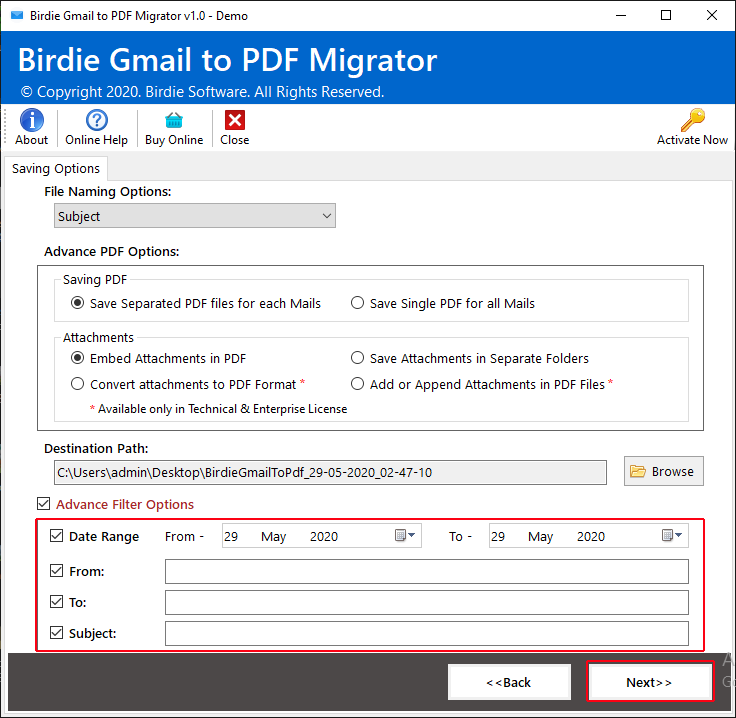
In this step, click on Advance Filter Options which enables many filters like- email filters(To, CC, BCC, etc.) & date filters. Use any filter for performing selective Gmail file migration to PDF. Then, click on Next.
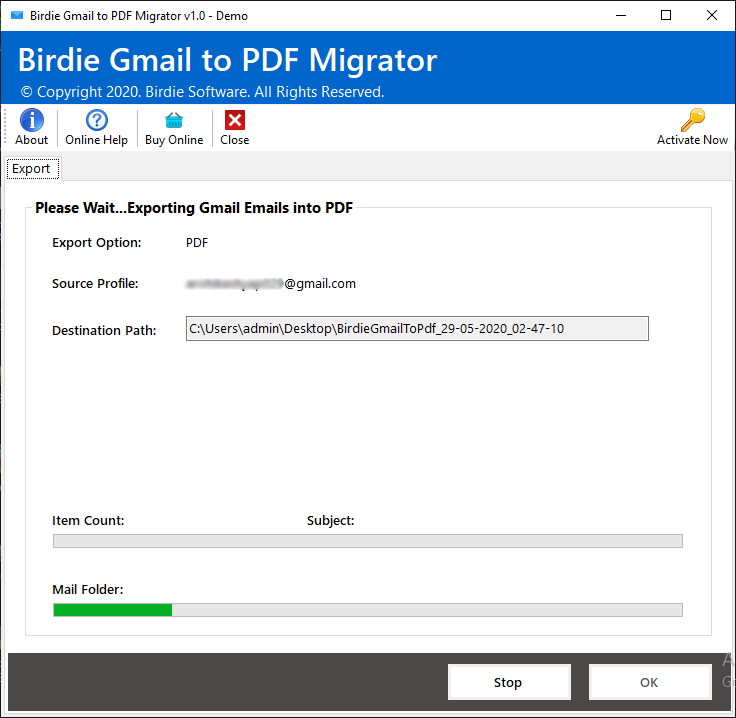
The current screen shows the live Gmail to PDF migration procedure on the software screen. The live screen shows all the important items of migration process as like- Export Option, Source Profile, Destination Path, etc.
When the Gmail to PDF migration process completed, the software shows a successful confirmation message i.e. Conversion Completed Successfully. Now, click Ok.
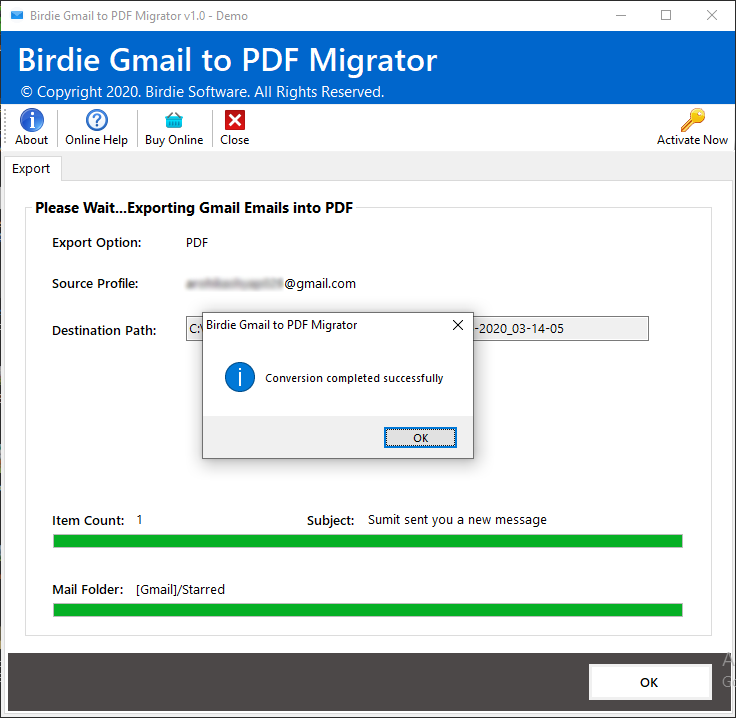
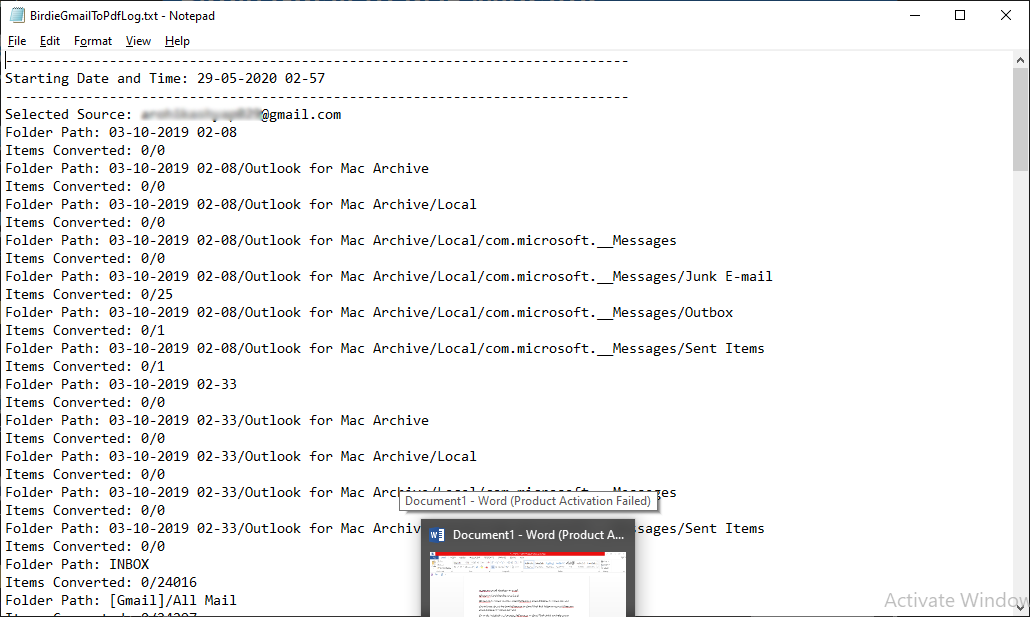
Clicking on ok button open a Notepad that includes the complete information about the Gmail to PDF migration procedure. Performer can save this report for analysing purpose.
FREE Download Now
For Windows 10/8.1/8/7/Vista/XP Buy Online at $39.00
Order & get full-featured software
